
Do you ever walk into a room in your home and feel like it’s missing something? It’s like the space is lacking that “wow” factor that you desire. Well, fear not! In this blog post, we are going to dive deep into the world of interior painting and learn some expert tips to transform your space from drab to fab.
Whether you’re a seasoned DIY-er or just starting out on your home improvement journey, these 10 interior painting tips will empower you to create a stunning transformation that will leave you and your guests in awe. Now, I know what you’re thinking.
“Can a simple coat of paint really make that much of a difference?” The answer is a resounding yes! Interior painting has the power to completely revitalize a room, breathing new life into tired walls and outdated decor. But achieving that picture-perfect result requires more than just slapping some color on the walls. That’s why we’ve compiled this comprehensive list of tips and tricks that will take your painting skills to the next level.
From choosing the right colors and finishes to prepping the walls and applying paint with precision, this blog post will guide you through every step of the interior painting process. By the end, you’ll not only have the confidence to tackle any painting project but also possess the knowledge to transform any space in your home into a true masterpiece. So, let’s roll up our sleeves, grab a paintbrush, and get ready to unlock the secrets of interior painting!
Selecting the Perfect Colors and Finishes for Your Space
When it comes to interior painting, choosing the right colors and finishes is crucial. The colors you select will set the mood and atmosphere of the room, while the finishes will determine the overall look and feel. Here are some tips to help you make the perfect choices:
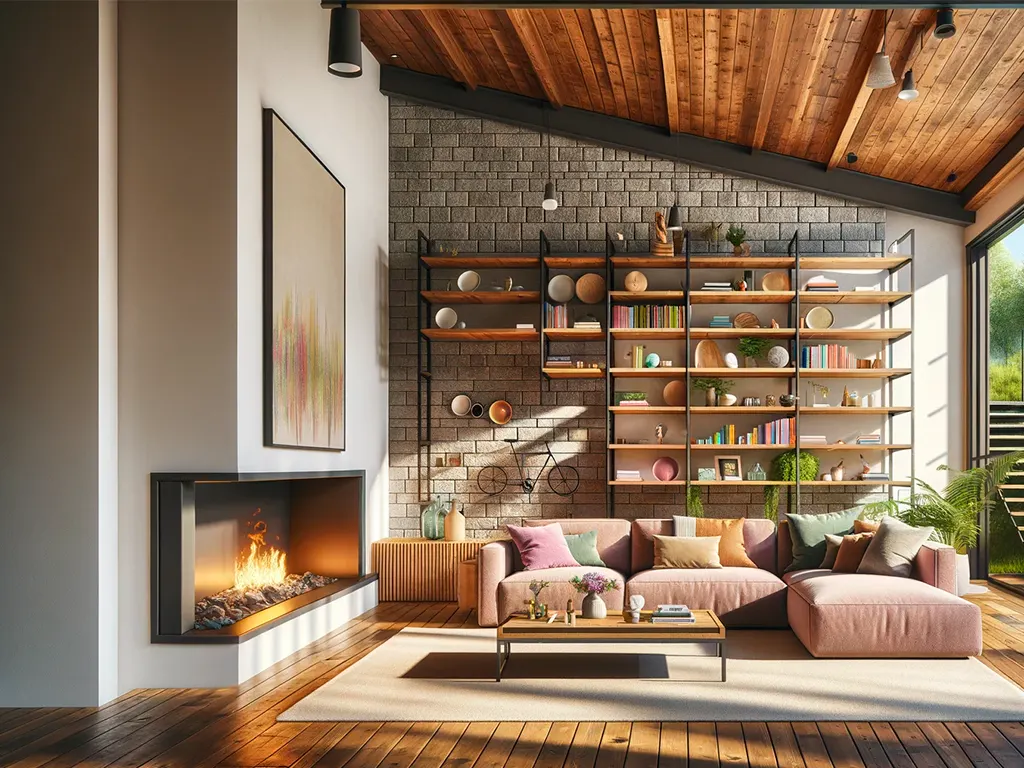
1. Consider the purpose of the room: Think about how you want to feel when you’re in that space. For a relaxing bedroom, opt for calming colors like blues or neutrals. If you want a vibrant living room, go for bold and energetic shades.
2. Take into account natural light: Natural light can greatly affect how colors appear in a room. If your space receives plenty of sunlight, lighter shades may work well. In darker rooms, consider using brighter or warmer colors to add warmth and brightness.
3. Create a color scheme: Choose a main color for your walls and then select complementary or contrasting colors for accents such as furniture or accessories. This will create a cohesive look throughout the space.
4. Test before committing: Always test paint samples on your walls before making a final decision. Paint can look different under various lighting conditions, so it’s important to see how it looks in your specific space.
5. Consider finishes: Finishes such as matte, satin, or glossy can greatly impact the overall look of your painted surfaces. Matte finishes are great for hiding imperfections, while glossy finishes offer more durability and are easier to clean.
Essential Tools and Materials You’ll Need
To achieve professional-looking results with your interior painting project, it’s important to have the right tools and materials on hand:
1. Paintbrushes: Invest in high-quality paintbrushes that are suitable for the type of paint you’ll be using. Different brushes are designed for different purposes, so make sure to choose the right ones.
2. Rollers: Rollers are ideal for covering large areas quickly and efficiently. Look for rollers with different nap lengths to accommodate different surfaces.
3. Paint trays: These will hold your paint as you work, making it easier to load your brush or roller.
4. Drop cloths: Protect your floors and furniture by laying down drop cloths before you start painting.
5. Painter’s tape: Use painter’s tape to create clean lines and protect areas that you don’t want to be painted.
6. Sandpaper: Sandpaper is essential for smoothing out any imperfections on the walls before painting.
How to Properly Prime Your Walls

Before diving into the actual painting process, it’s important to properly prime your walls:
1. Clean the walls: Remove any dirt, dust, or grease from the walls using a mild detergent and water solution.
2. Repair imperfections: Fill in any holes or cracks with spackle or putty and sand them smooth once dry.
3. Apply primer: Using a roller or brush, apply a coat of primer to the walls. Primer helps create a smooth surface for the paint and improves its adhesion.
4. Allow time to dry: Follow the manufacturer’s instructions on drying time before proceeding with painting.
Mastering Different Painting Techniques: Brush, Roller, or Spray?
The technique you choose for applying paint can greatly impact the final result:
– Brush: Using a brush allows for more precision and control, making it ideal for cutting in corners and edges. It’s also great for smaller areas or detailed work.
– Roller: Rollers are perfect for covering large areas quickly and efficiently. They provide a smooth and even finish, especially when used with the right technique.
– Spray: Sprayers are ideal for large-scale projects or textured surfaces. They can cover a large area in a short amount of time, but they require more skill to achieve an even finish.
Tips for Achieving a Smooth and Even Paint Application

To ensure a smooth and even paint application, follow these tips:
1. Use long, continuous strokes: Whether you’re using a brush or roller, try to maintain long, continuous strokes instead of short, choppy ones. This will help create a seamless finish.
2. Don’t overload your brush or roller: Excess paint can lead to drips and uneven coverage. Load your brush or roller with just enough paint to cover the surface without dripping.
3. Apply multiple thin coats: Instead of applying one thick coat of paint, it’s better to apply multiple thin coats. This will result in better coverage and a smoother finish.
4. Sand between coats: For an ultra-smooth finish, lightly sand the surface between coats of paint. This will help remove any imperfections and create a flawless result.
Avoiding Common Interior Painting Mistakes
Even the most experienced painters can make mistakes. Here are some common pitfalls to avoid:
1. Rushing the prep work: Properly preparing your walls is essential for achieving professional results. Take the time to clean, repair, and prime your walls before painting.
2. Not using painter’s tape correctly: Painter’s tape is meant to create clean lines, but if it’s not applied properly or removed too soon, it can cause paint to bleed or peel.
3. Skipping the primer: Primer helps the paint adhere better and provides a smooth surface for an even finish. Don’t skip this important step.
4. Using low-quality tools and materials: Investing in high-quality brushes, rollers, and paints will make a noticeable difference in the final result.
Tips for Cleaning and Maintaining Painted Surfaces

Once your painting project is complete, it’s important to properly clean and maintain your painted surfaces:
1. Use mild cleaning solutions: Avoid harsh chemicals that can damage the paint. Instead, use mild soap and water solutions for regular cleaning.
2. Address stains promptly: If you notice any stains or marks on your painted surfaces, address them as soon as possible to prevent them from becoming permanent.
3. Touch up as needed: Over time, painted surfaces may experience wear and tear. Keep some extra paint on hand to touch up any areas that need attention.
Bringing It All Together: Final Touches and Decorative Accents
The final touches and decorative accents can truly elevate your space:
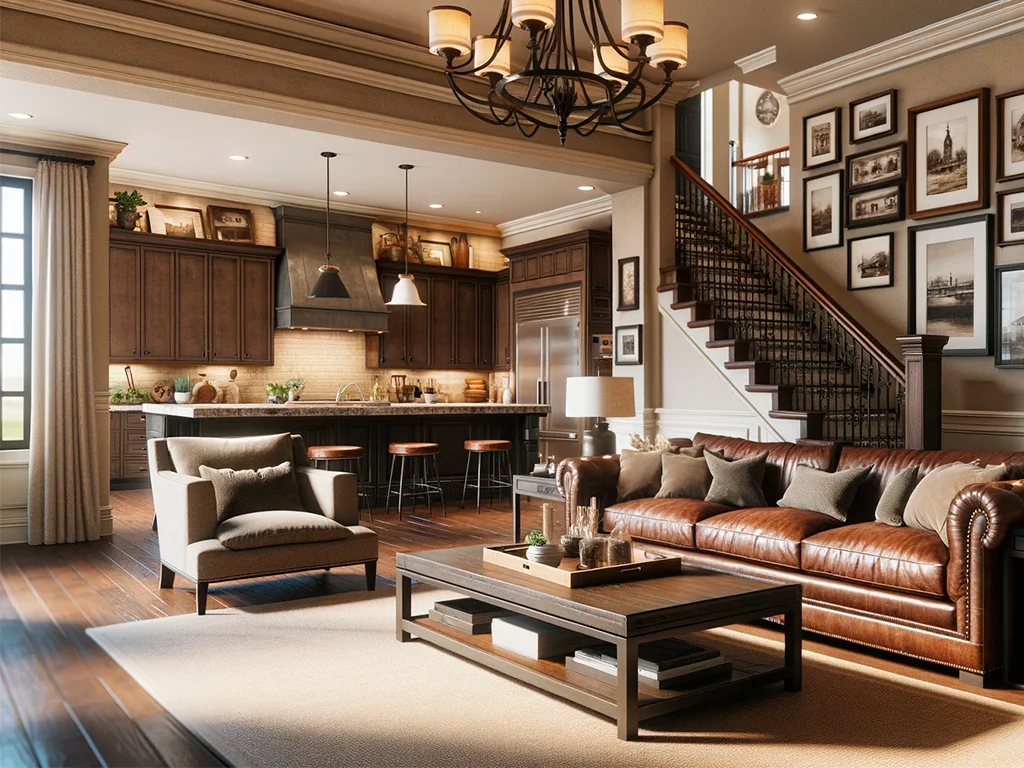
– Add artwork or mirrors: Hang artwork or mirrors on the walls to add visual interest and personality to the room.
– Incorporate textiles: Soft furnishings such as curtains, rugs, and throw pillows can add texture and warmth to the space.
– Play with lighting: Experiment with different lighting fixtures or lamps to create ambiance and highlight certain areas of the room.
Understanding the Power of Interior Painting
Interior painting has the power to completely transform a space:
– It can make a small room appear larger by using light colors and strategic placement of mirrors.
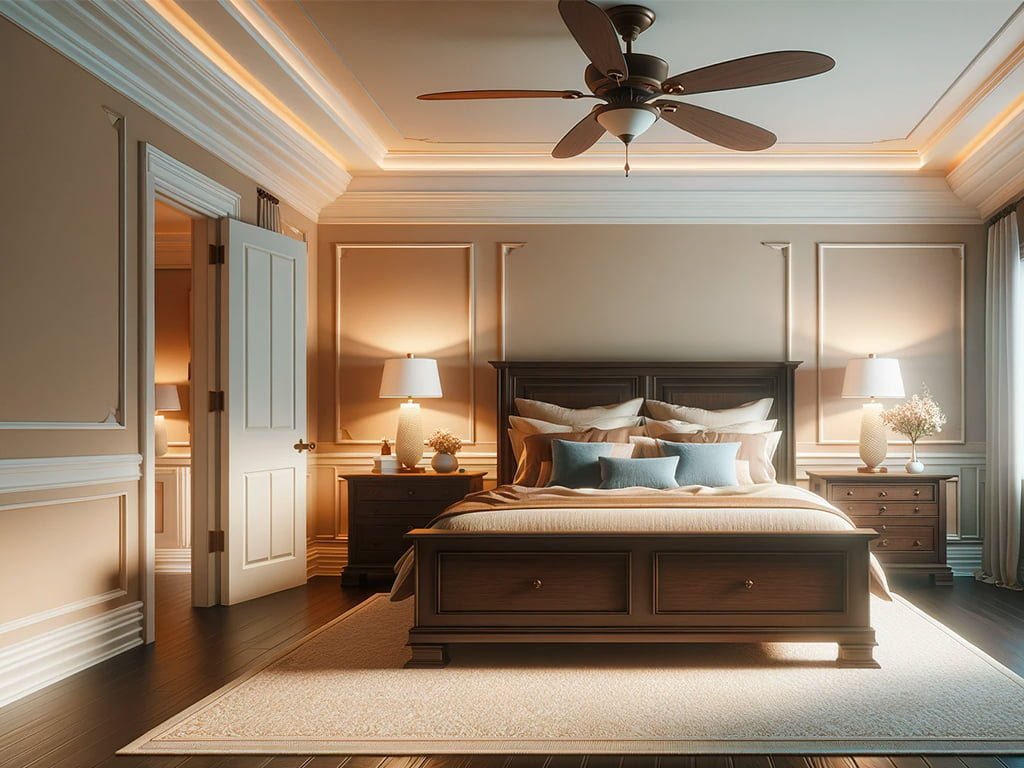
– It can create a cozy and intimate atmosphere by using warm, rich colors.
– It can bring life to outdated or worn-out furniture by giving it a fresh coat of paint.
By understanding the power of interior painting, you can harness its potential to create a space that reflects your personal style and enhances your overall well-being.
Prepping Your Walls: Cleaning and Repairing Imperfections
Before you start painting, it’s important to properly prep your walls:
1. Clean the walls: Remove any dust, dirt, or grease from the walls using a mild detergent and water solution. This will ensure that the paint adheres properly.
2. Repair imperfections: Inspect the walls for any cracks, holes, or dents. Use spackle or putty to fill in these imperfections and sand them smooth once dry.
3. Sand the walls: Lightly sand the walls to create a smooth surface for the paint. This will help remove any rough patches or bumps.
4. Remove old wallpaper or peeling paint: If there is old wallpaper or peeling paint on your walls, it’s important to remove it before painting. Use a scraper or steamer to gently remove these layers.
By properly prepping your walls, you’ll ensure that your interior painting project starts off on the right foot and results in a beautiful finish.